How to Enable Two-Factor Authentication for Your Apple Account

Losing access to your Apple Account can be devastating. Without proper security setup, you may face a recovery process that takes several days or more (users report 13-20+ days), and in some cases, permanent account lockout. I’ve seen too many people learn this lesson the hard way.
Two-factor authentication is your first line of defense against unauthorized access, but it only works if you set it up correctly and prepare for potential recovery scenarios. This guide walks you through enabling two-factor authentication on your iPhone and explains what you need to know about account recovery before problems occur.
Why Two-Factor Authentication Matters
Two-factor authentication adds a second layer of security to your Apple Account. Even if someone discovers your password, they can’t access your account without a verification code sent to your trusted devices or phone number.
Without two-factor authentication enabled:
- Anyone with your password can access your iCloud data, photos, and messages
- Your Apple Account becomes vulnerable to phishing attacks
- You have fewer recovery options if you lose access to your account
Apple now requires two-factor authentication for most Apple Account features, including iCloud backup, Apple Pay, and Find My. If you haven’t enabled it yet, you’re missing critical protection for your digital life.
How to Enable Two-Factor Authentication on iPhone
The process is straightforward. Before you start, make sure you have access to your trusted phone number and can receive text messages or phone calls.
Step 1: Open Settings
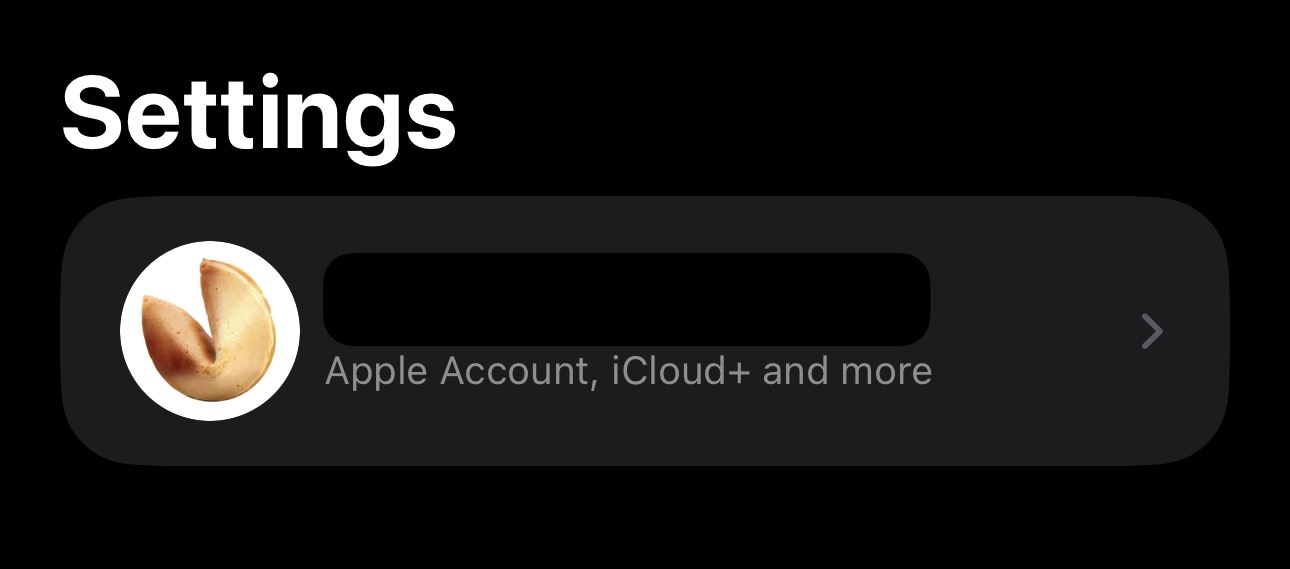
Open the Settings app on your iPhone and tap your name at the top of the screen.
Step 2: Navigate to Sign-In & Security
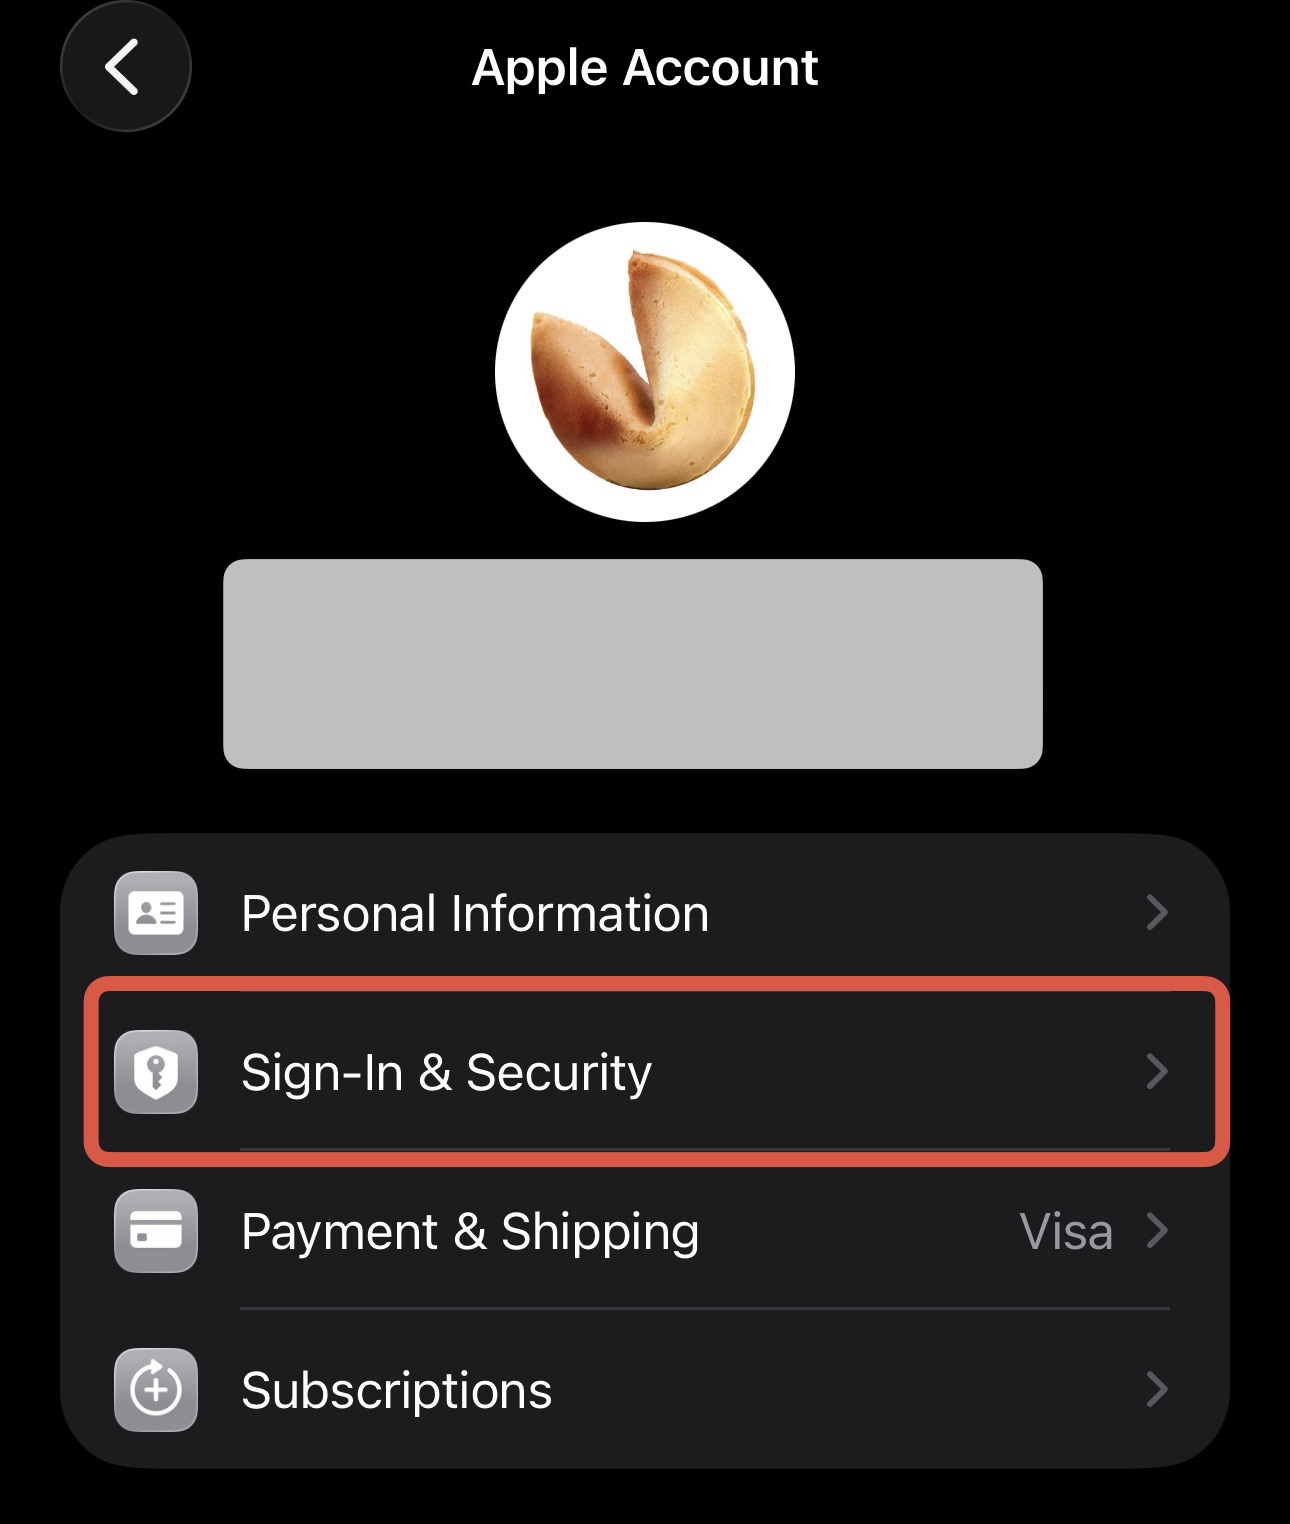
Tap “Sign-In & Security” in the menu.
Step 3: Enable Two-Factor Authentication

Tap “Two-Factor Authentication” and follow the on-screen instructions.
You’ll be asked to:
- Verify your trusted phone number (the number you’ll use to receive verification codes)
- Enter the verification code sent to that number
- Confirm the setup on your other Apple devices
Once enabled, you’ll need to enter a verification code whenever you sign in to your Apple Account on a new device or browser.
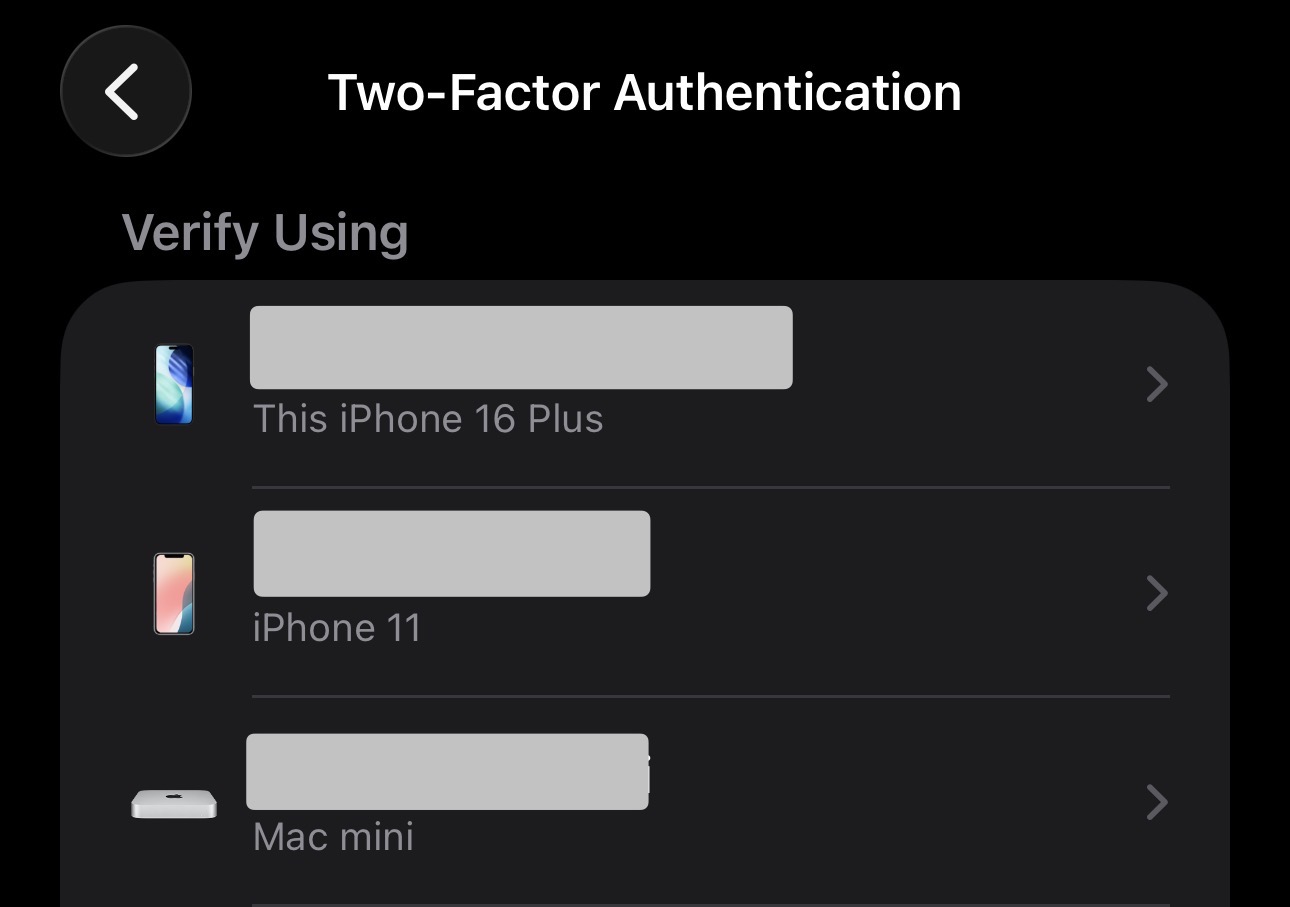
Understanding Trusted Devices
After enabling two-factor authentication, your current Apple devices become “trusted devices.” These devices can receive verification codes and confirm your identity when signing in elsewhere.
Managing Multiple Trusted Devices
I recommend maintaining several trusted devices for redundancy. If your only trusted device is lost, stolen, or damaged, you’ll face a lengthy account recovery process.
Consider keeping:
- Your primary iPhone
- An iPad or Mac at home
- A secondary device in a different location (if possible)
- An older device kept as backup
This strategy protects you if your main device becomes unavailable. If all your trusted devices are in one bag that gets stolen, you’ll need to rely on Apple’s account recovery process.
Review Your Trusted Devices Regularly
I check my trusted devices every few months:
- Open Settings > [Your Name] > Sign-In & Security > Two-Factor Authentication
- Remove devices you no longer own or use
Always remove a device from your trusted list before selling or giving it away. If you forget, you can remove it remotely at appleid.apple.com.
What Happens If You Lose Access
This is where preparation becomes critical. If you lose access to all your trusted devices and don’t have a recovery method set up, you’ll need to use Apple’s account recovery process, which can take several days or more (users report 13-20+ days).
During this waiting period:
- You can’t access iCloud data, photos, or messages
- You can’t use Apple Pay or other Apple services
- You can’t download apps or make purchases
- Your devices may be partially or fully locked
Recovery Options to Set Up Now
Apple offers two recovery methods you can configure before problems occur:
Recovery Key: A 28-character code you generate and store securely. If you lose access to your trusted devices, you can use this key along with your password to regain access immediately. Best for tech-savvy users who can safely store a physical or digital copy of the key.
Recovery Contact: A trusted person who can help you regain access to your account. They’ll receive a recovery code on their device that you can use to unlock your account. Best for users who have a trusted family member or friend with an Apple device.
To set up either option:
- Go to Settings > [Your Name] > Sign-In & Security
- Choose either “Recovery Key” or “Recovery Contact”
- Follow the setup instructions
I strongly recommend setting up one of these options today, before you need it. The account recovery waiting period exists to protect your account from attackers, but it can’t distinguish between a legitimate owner and someone trying to break in.
Common Mistakes to Avoid
Not Verifying Your Phone Number
Your trusted phone number is critical for account recovery. Make sure it’s current and you can receive calls or texts at that number. If you change phone numbers, update your Apple Account immediately.
Keeping Only One Trusted Device
If your only trusted device is lost or broken, you’ll face the lengthy account recovery process. Maintain multiple trusted devices for redundancy.
Forgetting to Remove Old Devices
Devices you’ve sold or given away can still appear in your trusted devices list. Review and remove them regularly to maintain security.
Not Setting Up a Recovery Method
Many users enable two-factor authentication but skip the recovery setup. This leaves them vulnerable to extended lockouts if something goes wrong.
What to Do If You’re Already Locked Out
If you’ve lost access to your Apple Account and don’t have a recovery method set up, you’ll need to start the account recovery process:
- Go to iforgot.apple.com
- Enter your Apple Account email address and follow the instructions
- Wait for Apple to verify your identity (this can take several days or more)
During the waiting period, Apple will send updates to your trusted email address and phone number. Don’t create a new Apple Account while waiting, as this can complicate the recovery process.
Quick Security Checklist
I recommend reviewing your Apple Account security regularly:
- ✓ Verify your trusted phone number is current
- ✓ Review and remove old trusted devices
- ✓ Confirm your recovery method is still accessible
- ✓ Update your password if it’s been over a year
- ✓ Check for any unfamiliar sign-ins at appleid.apple.com
This quick audit can prevent major headaches later.
Conclusion
Enabling two-factor authentication for your Apple Account is essential, but it’s only the first step. Setting up a recovery method and maintaining multiple trusted devices protects you from the worst-case scenario: permanent account lockout.
Take a few minutes today to:
- Enable two-factor authentication if you haven’t already
- Set up a Recovery Key or Recovery Contact
- Review your trusted devices and remove any you no longer own
- Verify your trusted phone number is current
These simple steps can save you from weeks of frustration and potential data loss.
Optimize Your Mac’s Storage
Looking for more ways to free up space? Zero Duplicates helps you identify and remove duplicate files that consume unnecessary storage. It is a simple, effective way to reclaim disk space and keep your Mac organized.